Oh hi!
So after I made my first deck of playing cards, I received requests to share a playing card workflow. The first one I had made was a complete mess of noodles, and was to ashamed to share.
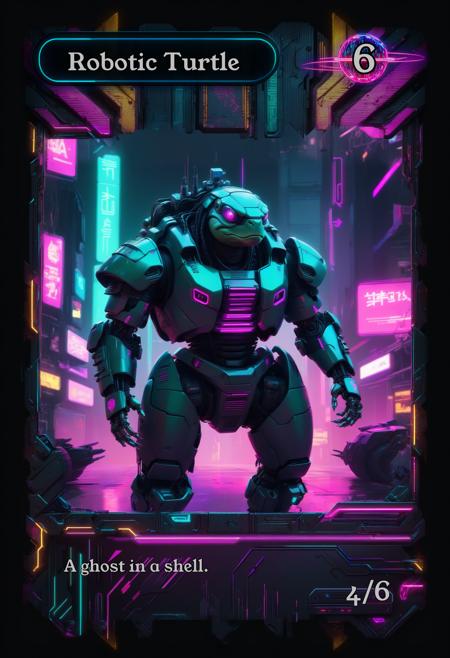
However, based on my previous learnings using ComfyUI, I started again from scratch, and created a whole new workflow, simpler and more flexible. It is built on 6 different lanes, where each lane generates an element of the playing card.

Version History
v1.1 - Remplaced Rembg nodes by Layer Diffuse nodes which handle transparency much better
v1.0 - Initial version
Before you start
The workflow was tested on a NVIDIA RTX 3090 with 24GB of VRAM.
The resolutions used in the workflow assume a SDXL model. Please adjust resolutions if you use a non-SDXL model for optimal results.
The workflow uses the same model for all the lanes, and no LoRAs. But you can easily change this. Simply edit the LoadCheckpoint Node at the very left of the workflow. You can also tinker with the models given in input of each lane, if you want to specialize a lane with a different model.
Lane #1: Card Background
This lane is responsible for building your card's background. I would suggest using keywords such as "video game texture" and "viewed from top" in your positive prompt as a mean to try remove the depth and perspective effect of your card's background, unless it is an effect you are looking for.
The lane will automatically add a black fading border to the card, and then upscale it. I did this for aestheticism, but feel free to change or remove the border. Here is an example: The last node of the lane changes the background, to dim it and let the foreground elements capture the eye's attention.
Lane #2: Card Title
This lane will generate the title of the card. For example, if you are to build a MTG-like playing card, this could be the name of your creature or enchantment.
The lane starts by building a background frame, or logo, on which the text will be rendered. A node has been inserted to add a black feathered border around the logo; this helps leave some room around your logo if you don't want it to be perfectly rectangular.
 This lane uses Layer Diffuse nodes to add transparency to the image.
Lane #3: Card Cost
Often times, in a game of playing cards, a card will cost something to play. The goal of this lane is to hold some form of indicator of this cost.
The prompt is built around a spherical logo of a given theme, and overlays a number on top of it. There is also a Layer Diffuse node in this lane to make the background transparent before pasting it on the card.

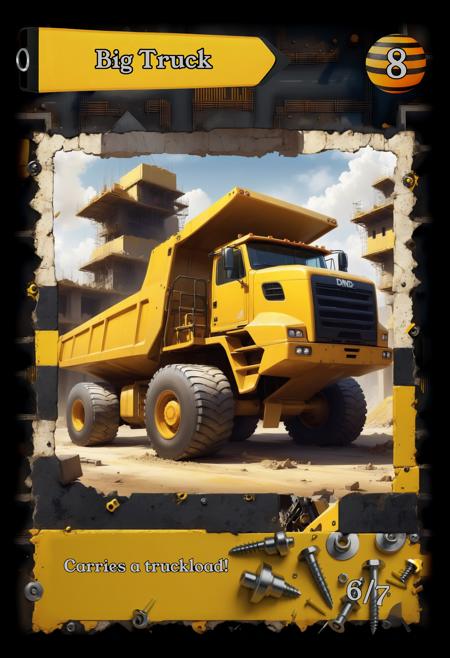
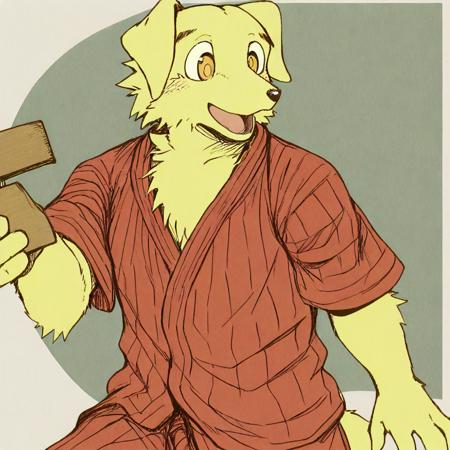
Lane #4: Card Illustration
Lane #4 is a bit more simple to explain: it sole purpose is to generate the card illustration. The illustration is upscaled in latent space and then pasted on card.
Lane #5: Description
In the fifth lane is generated a background image, which you can theme the way you want, on which a text description of the card is added. The background illustration has a filter adjustment node added to it so that you can fade it a bit and ensure the description is more easily readable. It is then pasted on the card.
Lane #6: Borders
The last lane is the one which ties everything together: borders. First, a mask for the border is generated. The mask overlaps the edges of the description and the illustration generated in lanes 4 and 5. You'll see that the mask also overlaps a bit on the card background. This is used as an inpainting mask. By tweaking the prompt, you'll be able to generate a custom frame that makes the whole composition of your card feel more natural and smooth.
Credits
That being said, have fun noodling, and please share your results here!
描述:
v1.1 replaces Rembg nodes with LayerDiffuse nodes for better handling of transparency.
训练词语:
名称: artismysteriumsBasic_v11.zip
大小 (KB): 24
类型: Archive
Pickle 扫描结果: Success
Pickle 扫描信息: No Pickle imports
病毒扫描结果: Success