This is a Windows tool that can capture images for control nets using the vrm, glb, and gltf models.
The tool itself Selling, reprinting, etc. is prohibited. Selling images created with the tool itself is also prohibited, but for images generated using the image generation AI, please use them according to the conditions of the model.
https://www.buymeacoffee.com/yukidaruma135
日本語の機能説明はこちらからどうぞ
https://ci-en.dlsite.com/creator/13120/article/1034818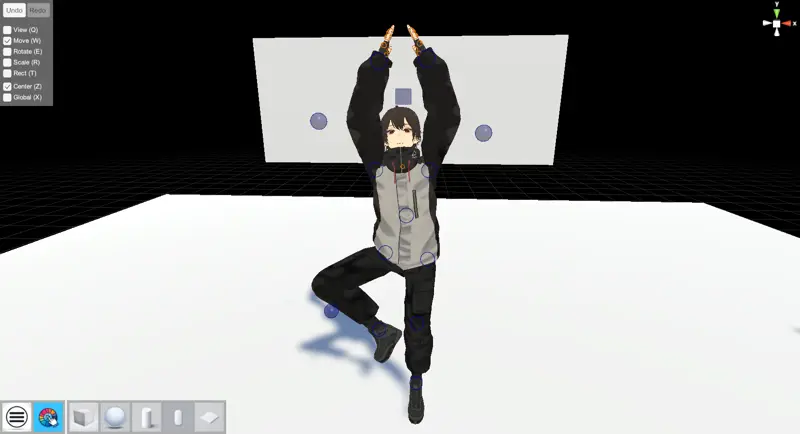
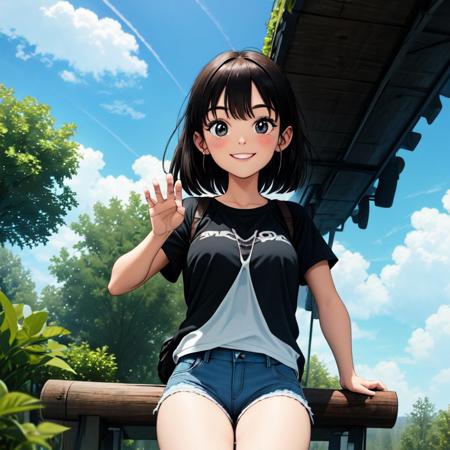
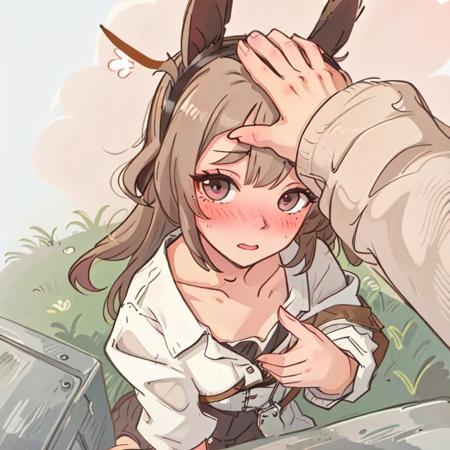
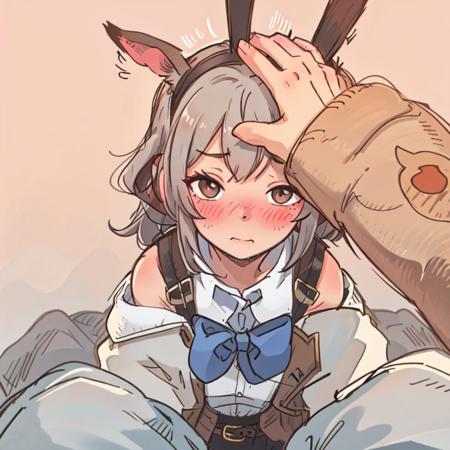
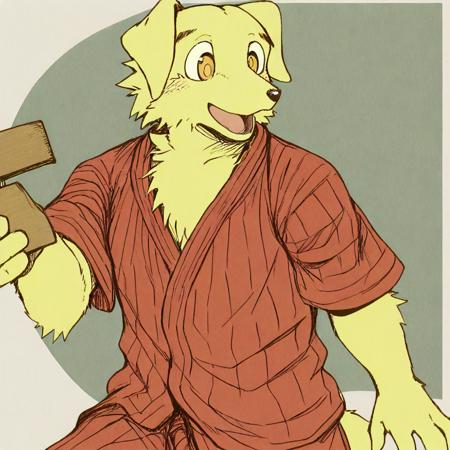
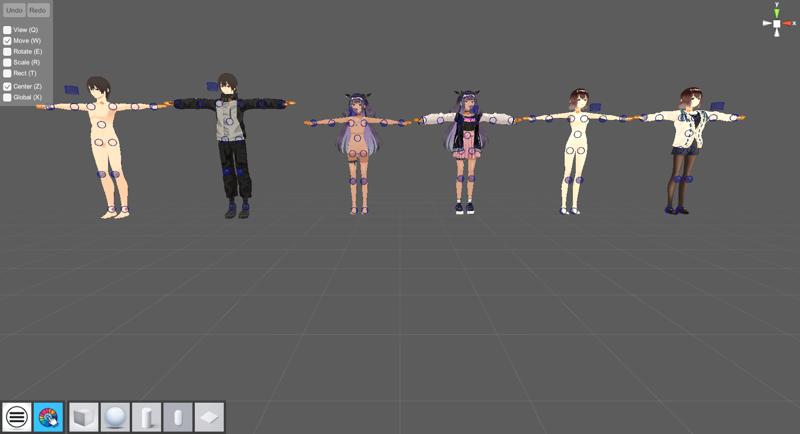
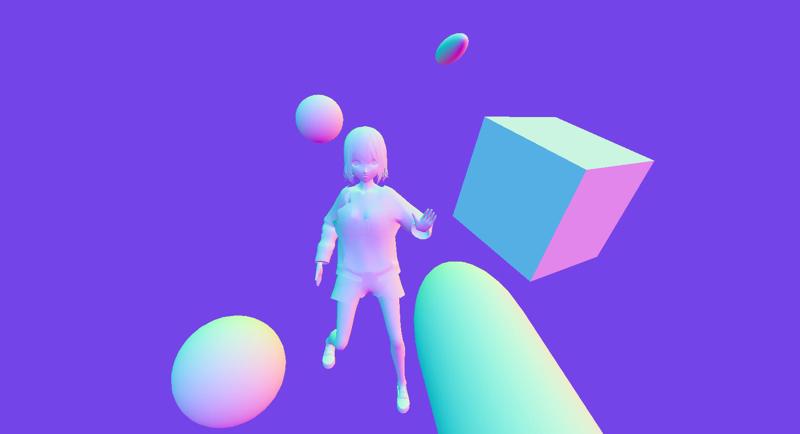
The model in the image is a sample model that exists in the scene from the beginning.
It is not very easy to use because it is a prototype created with the idea of making it usable for now.
I do not speak English, so this text was prepared using a translation tool.
Function description
Mouse right drag, wheel up/down, wheel click+drag, Alt+mouse left drag to move viewpoint. 1 key for blue shapes, 2 key for orange shapes, 3 key to hide each UI.
Ctrl+P to take a screenshot (Save to -> AIA\Capture).
Icon Click:
-
Hamburger→hide the upper left menu
-
Color Picker→change background color
-
Figure→Basic object creation (delete with delete key while object is selected)
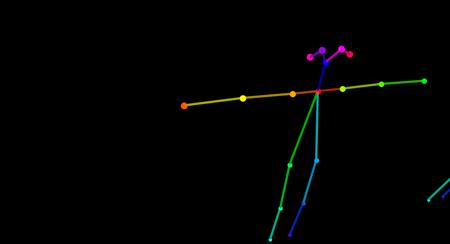
Pose can be changed using IK and rotation.
-
Blue circles are IK for body joints, limited to hands and feet, and rotation
-
Orange circles can manipulate the neck and fingers. Only rotation is possible.
-
Manipulation by clicking and dragging each point
-
Shift or Ctrl and left/right keys to expand and contract blue and orange circles
-
VRM model (humanoid) can be selected by clicking on the feet, and can be moved and rotated.
Handle description
There are several types of handles during object selection. This can be changed by pressing the menu in the upper left corner or the corresponding key.
-
Q key: viewpoint movement handle
-
W key: object movement handle
-
E key: object rotation handle
-
R key: object expansion/contraction handle
-
T key: object select handle (for both moving and scaling)
-
Movement, rotation, and scaling by handles can be undone (Ctrl+Z) and redone (Ctrl+Y).
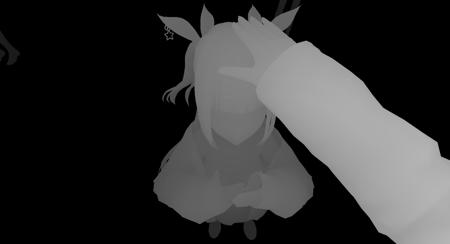
Get Depth
-
Ctrl+D keys to get depth for each model
-
While acquiring depth, you can change the intensity of the depth with the left and right keys, but the unevenness of things will be emphasized, but the white color will be faded
-
From v1.08, the body can be deleted and only the hands can be displayed. To switch the display, press the up key.
Get normal map
-
Ctrl+N key to get normal map
Open pause
-
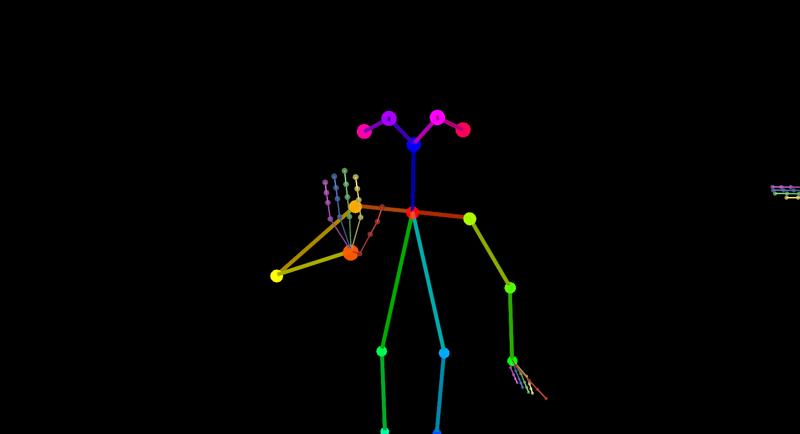
Ctrl+O key to display lines for open pose
-
Left and right keys to expand and contract joint circles
-
Finger line can be erased by pressing the up key
Model import
-
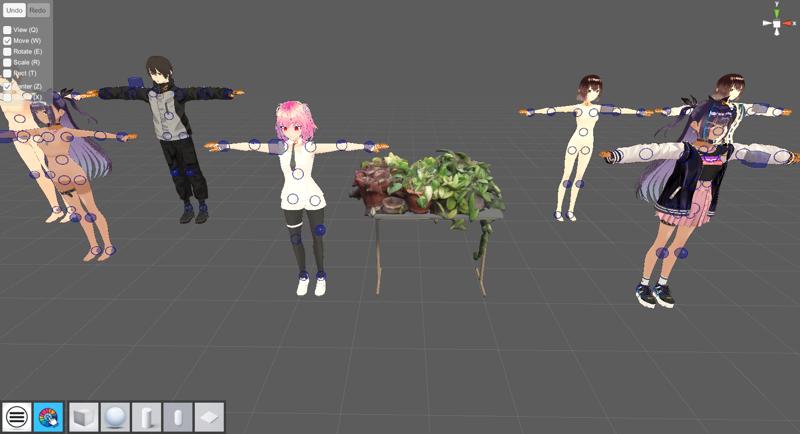
Imported pink hair vrm and plant shelf
-
Import vrm, glb and gltf models in (AIA\Import) folder by pressing Ctrl+I key.
For simplified implementation, it is not possible to select models, and all model files in the folder are imported at once.
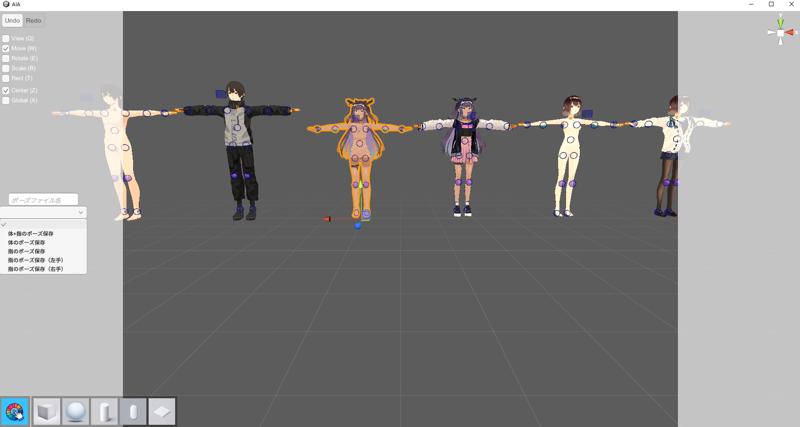
Model Selection Shortcuts
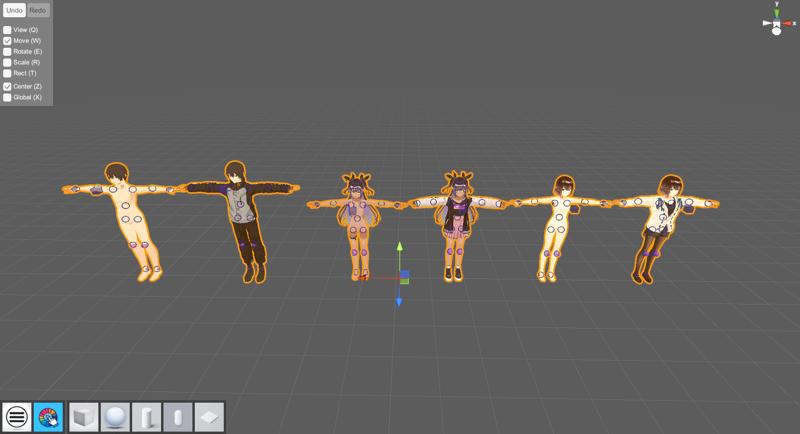
Pressing ctrl+1~6 selects each sample model
Pressing ctrl+0 key selects all sample models
Finger rotation aid slider
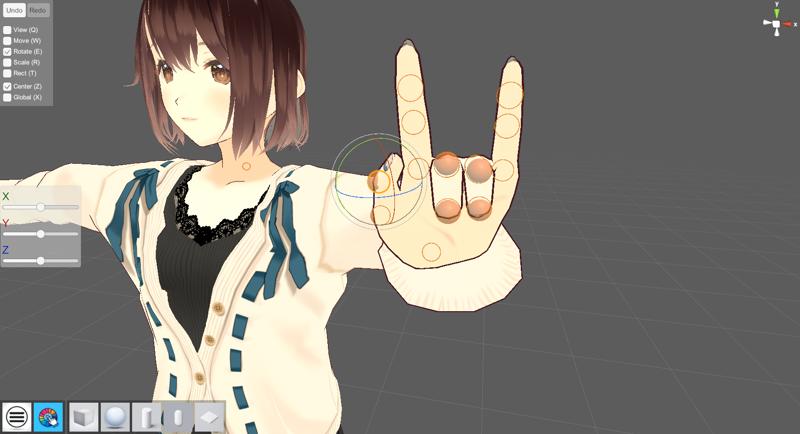
It appears on the left side of the screen when the orange circle of the joint is selected.
There are three sliders corresponding to x-, y-, and z-axis rotations, and by moving them left or right, the rotation values can be changed.
Explanation of rotation for each axis:
The x-axis is rotation based on the center of the finger, the y-axis is rotation to move the finger left or right, and the z-axis is rotation to fold or stretch the finger.
Color Change Function for Segmentation
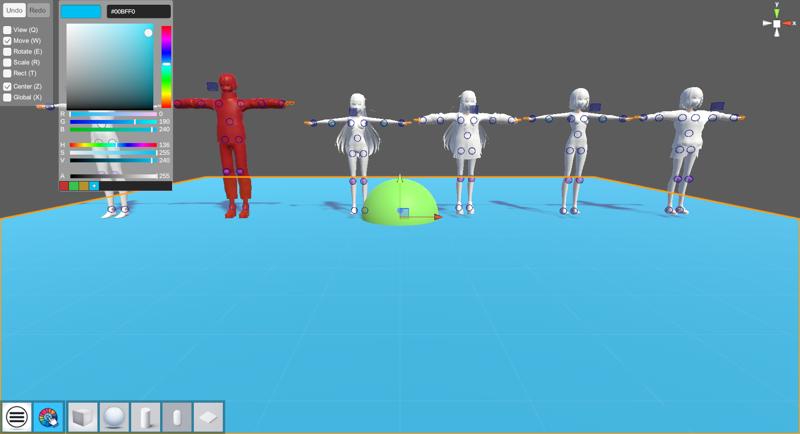
Basic graphic objects that can be added with icons can be color-changed at any time from the color picker when selected.
In addition, humanoid models can be changed to a texture for color change by pressing Ctrl+C, as shown in the image, and the color can be changed in the same way and returned to the original state by pressing Ctrl+C again.
Saving and loading humanoid model poses
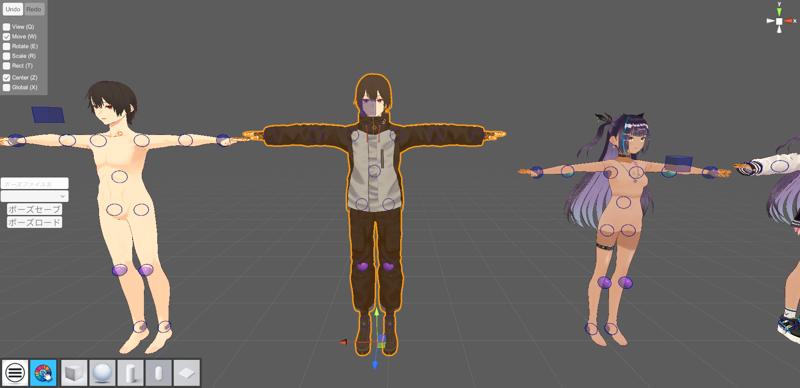
Select the humanoid model → enter a name for the save file(ポーズファイル名) → select from the drop-down which pose to save: full body/body/finger → save with the Save button(ポーズセーブ).
To load a pose file, select a model and click the "ポーズロード" button to open a file selection dialog.
The file format is json, and the destination folder is AIA\BodyData.
Changing the area where screenshots are taken (switching aspect ratio)
By pressing Ctrl+W, you can switch the aspect ratio for taking screenshots. There are five ratios that can be switched: 16:9 9:16 4:3 3:4 1:1.
Scene save function
The position and pose of objects in a scene can be saved and loaded.
The save menu can be toggled by clicking the hamburger menu icon in the lower left corner. Data is saved in the SceneData folder directly under the application.
Note that saving the state of color changes is currently supported only for basic objects (circles and squares that can be displayed in the UI).
Other
This tool is an alpha version and specifications are subject to change without notice.
描述:
Fingers are now displayed in open pause mode. The finger line can also be erased by pressing the up key while the line is displayed, as before.
The background color now automatically changes to a color appropriate for each mode.
Pressing the 3 key now erases all IK, neck, and finger targets as well as the UI.
A shortcut to select the sample model by pressing ctrl+1~6 keys and a shortcut to select all sample models by pressing ctrl+0 keys have also been added.
训练词语:
名称: imageCreationToolFor_v103.zip
大小 (KB): 192817
类型: Archive
Pickle 扫描结果: Success
Pickle 扫描信息: No Pickle imports
病毒扫描结果: Success