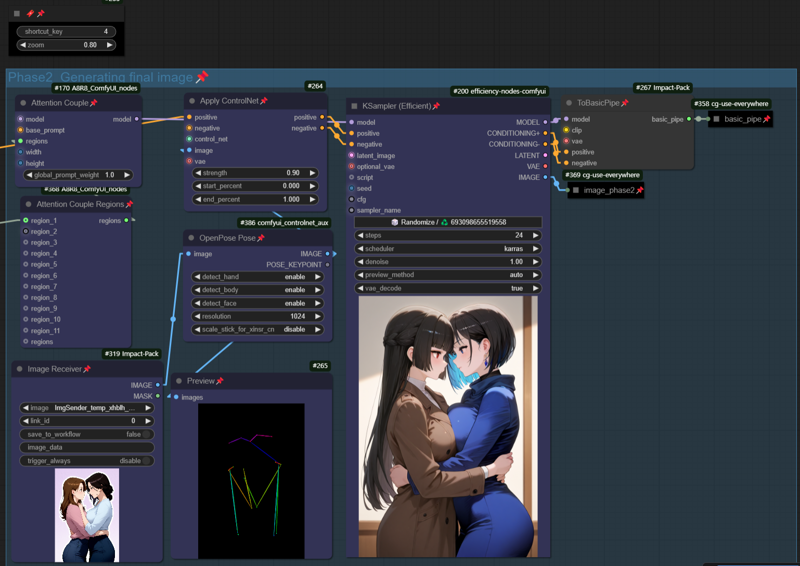
v1.5 - Organized nodes, replaced the DWPose Estimator in Phase 2 with OpenPose Pose. A realistic base image is no longer required.
This workflow utilizes the Attention Couple node for regional conditioning.
It operates in two phases to generate images.
While I understand that not working in a single queue might not be ideal, this is an attempt to achieve better results.
If you have any ideas for improvements to this workflow, please let me know.
This workflow was inspired by this workflow : https://civitai.com/models/541881/regional-conditioning-with-lora-support
The Attention Couple node was implemented using A8R8's node. : https://github.com/ramyma/A8R8_ComfyUI_nodes
This guide was translated using ChatGPT.
-- How to Use the Workflow --
1. Create the Base Image
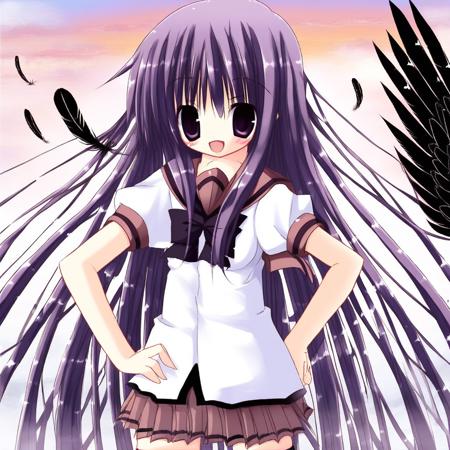
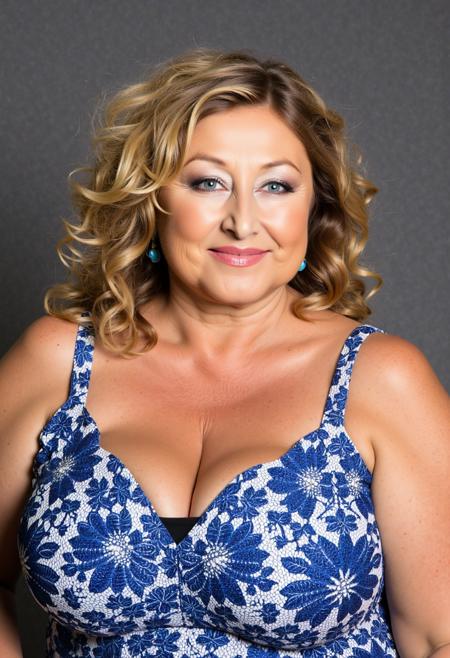
First, generate or load a base image. The base image will be used as the subject for masking and as the source for OpenPose.
Turn on the Phase 1 group, and turn off the Phase 2 and 3 groups. Enter prompts in the "Base Prompt" and "Quality Prompt" fields under the Main Settings group.
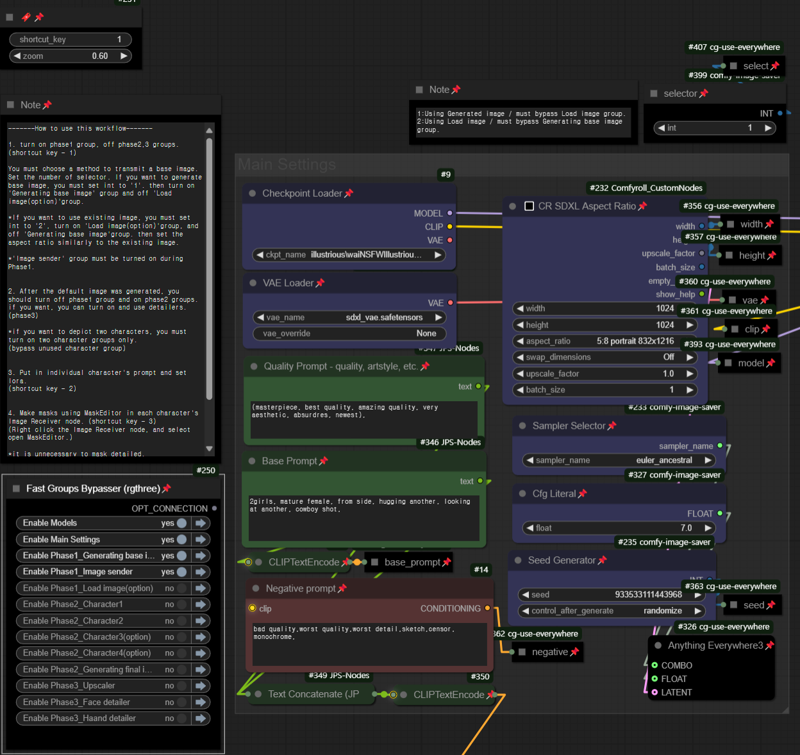
Now, you need to choose how to transfer the base image to Phase 2. If you want to generate a new base image, set the selector's int to 1 and enable the 'Generating base image' group.
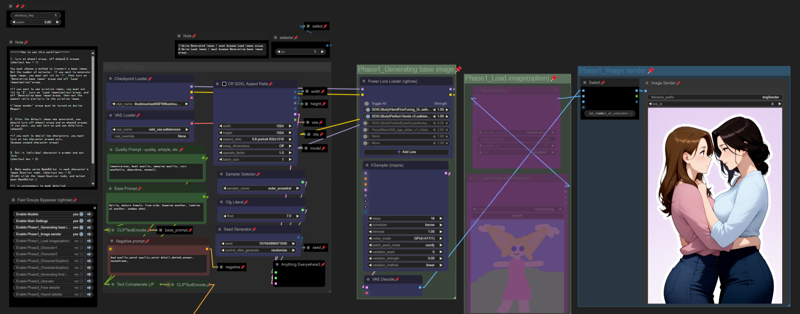
If you want to use an existing image as the base image, set the selector's int to 2, enable the 'Load image (option)' group, and bypass the 'Generating base image' group. Then, select the base image in the load image node. And set the aspect ratio similar to the existing image you plan to use as the base image.
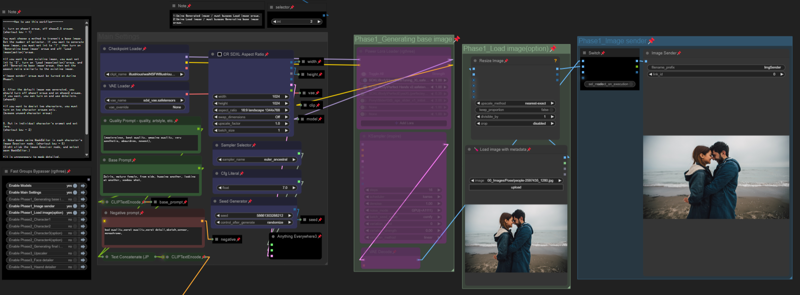
Once you've chosen the transfer method and set it up, run the queue once. The base image will be transferred to the Image Receiver nodes in Phase 2.
During Phase 1, the 'Image sender' group must always be enabled.
2. After Creating the Base Image, Turn off the Phase 1 group and turn on the Phase 2 groups. If you want to use detailers, turn on the Phase 3 groups as well.
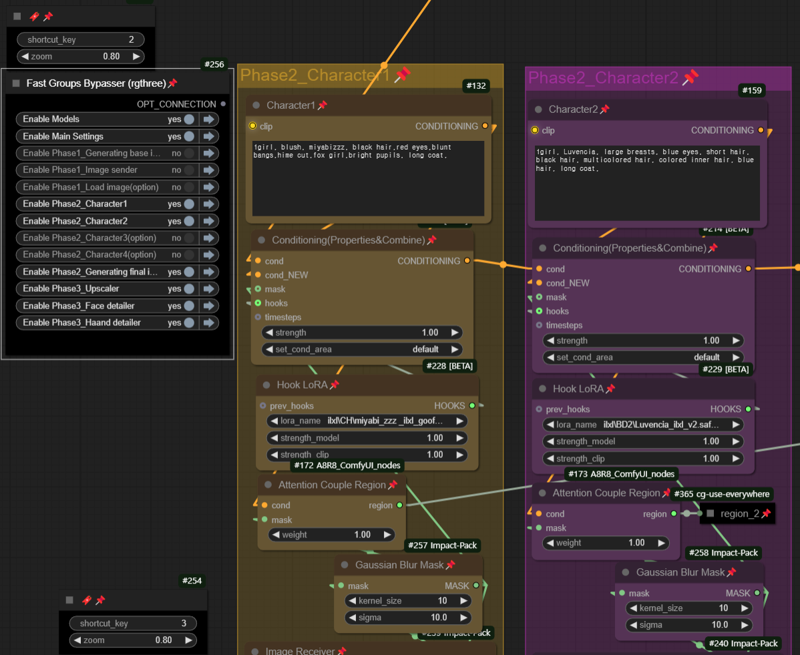
Enable as many character groups as the number of characters you want to depict. For example, if you want to depict two characters, enable both Character 1 and Character 2 groups.
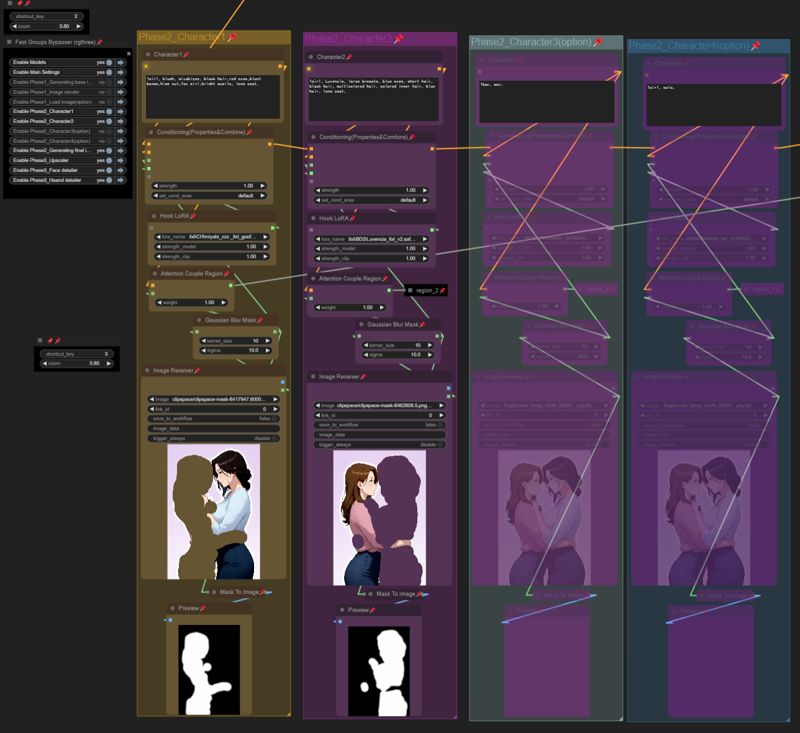
3. Describe and set up LoRA Each Character
In each character group, input prompts describing the character and set up the LoRA for them.
4. Masking Each Character
Perform masking for each character on the Image Receiver node in their respective groups. Use the Mask Editor (right-click the Image Receiver node and select "Open Mask Editor").
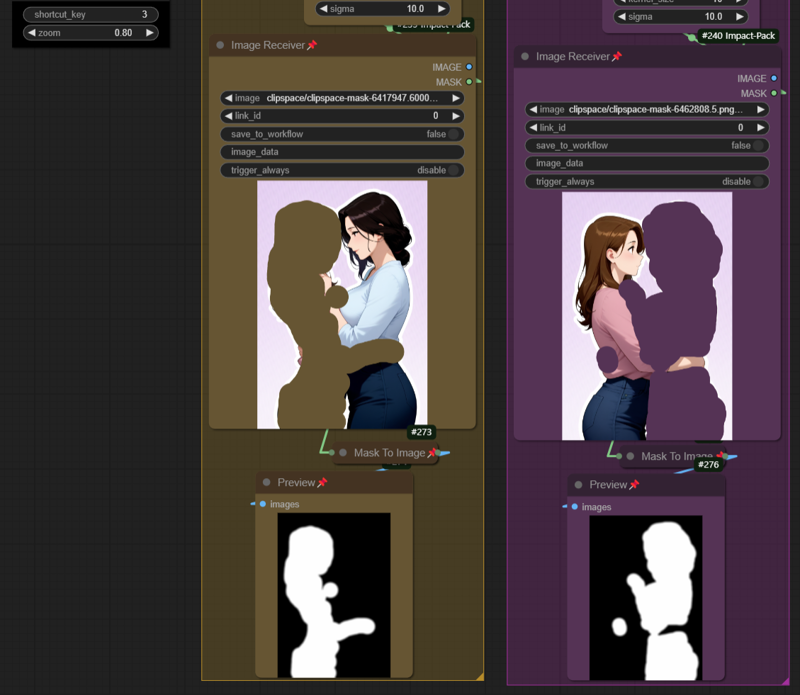
The mask does not need to be highly detailed; it just needs to sufficiently separate areas.
5. Generate the Final Image
Once you’ve completed the prompts, LoRA settings, and masking for each character, you can generate the final image. Use the detailer if you want (Phase 3).
Alternatively, you can also adjust the Base Prompt and character settings in Phase 2 to generate the final image.
描述:
训练词语:
名称: regionalConditioningWith_v15.zip
大小 (KB): 3071
类型: Archive
Pickle 扫描结果: Success
Pickle 扫描信息: No Pickle imports
病毒扫描结果: Success