Image Revamp by Model
Double Workflow
Why?
When I first told a buddy I was working on this workflow his first question was: "Why? Just remake the image in the other model..."
-
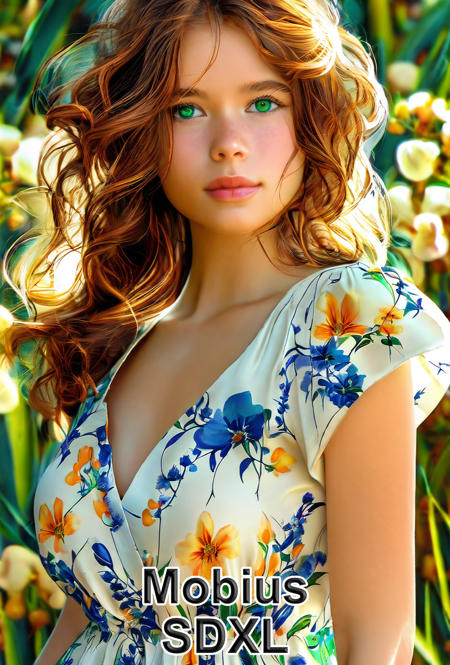
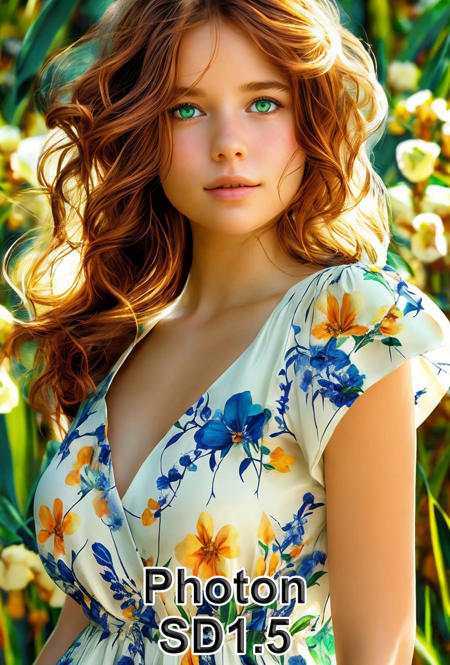
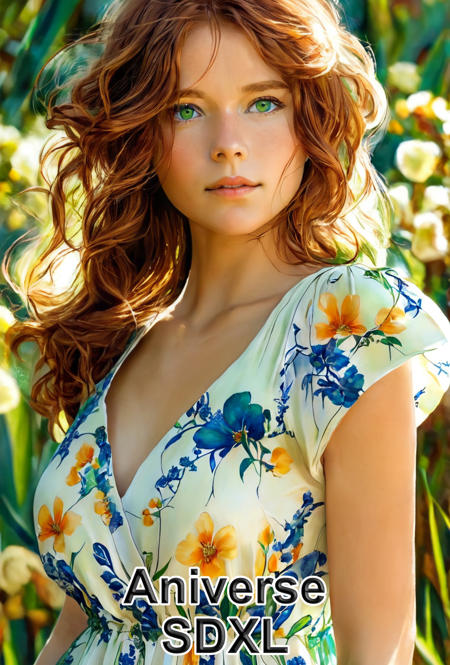
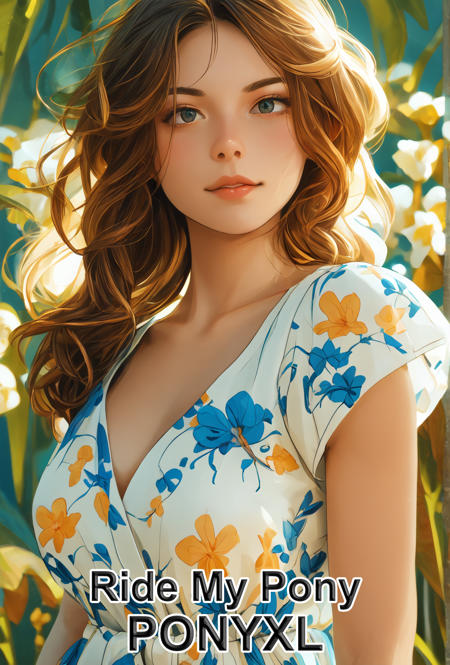
The reason is that the newer SDXL models have way better prompt adherence nothing more really. You can model renders much easier with models like Auraflow and Mobius. But I would be lying if I didn't say that I still love the look of older SD1.5 models even though their hands and prompt adherence is at times abysmal.
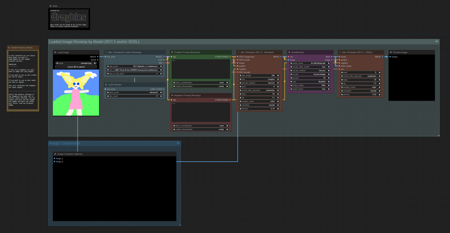
How it works
There are 2 workflows in the zipfile.
-
Image Revamp by Model v1.0 - (Full Generation)
-
With this workflow you'll make an image using your preferred model and afterwards you'll filter it through another adding minor noise to just imprint the other model onto the previously made image. So, you'll make a picture with let's say a SDXL mobius based model and then use an old SD1.5 model to imprint those looks onto the previously made image. Getting the prompt adherence of Mobius with the looks of older models that couldn't even come close to that prompt adherence.
-
-
Image Revamp by Model v1.0 - (Load Image)
-
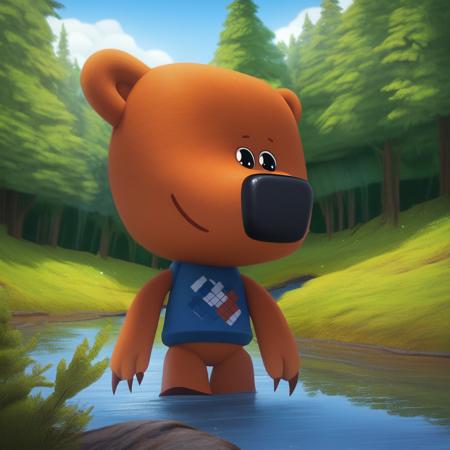
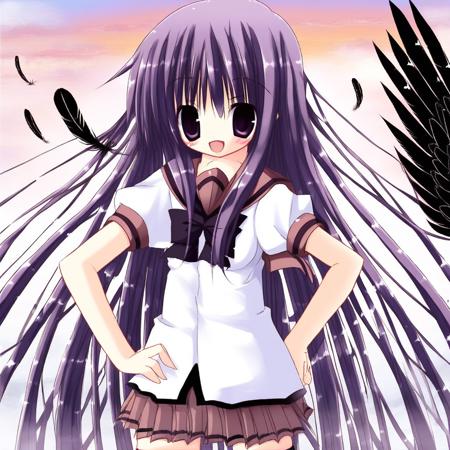
With this workflow you can load in any image AI generated or not and superimpose the chosen models looks onto that picture this especially works very way to turn photographic quality into Cartoons or Anime-like images.
-
The only problem is overall this will require more passes.
-
So, you'll generate the image then load the outcome back into the Load Image Node and repeat this until the desired look is achieved.
-
This can't be helped since you should never up the added noise higher than 0.15 otherwise, you'll alter the picture way too much.
-
-
What is needed
All that is needed is a Basic ComfyUI installation and the Models, LoRA's of your choice to use. This is technically nothing fancy and can be as intricate or simple as you yourself want.
Important
The first KSampler in either workflow has an attached sizing function. This to resample the images so it will be well received by the model used to alter the image.
-
For SDXL based models set this number to 1024
-
For SD1.5 based models this should be no higher than 768
The ratio of the original image will be maintained at all times but it's important to set this correctly to make the chosen model alter the image in a positive way.
Also, as long as you don't use full sentence prompts it is advisable that in the Full Generation workflow the 2 prompts should be the exact same. For the Load Image version, it is advised to not go to detailed. It's usually more beficial to set "Best Quality, Highly Detailed" then giving a detailed version of the loaded image. Let the Model figure it out.
Sadly, there is no golden setup that will always work and I urge you to test de added noise setting. Tests have proven that 0.15 -> 0.35 for the altering works best. If the denoise is set to high you'll alter the picture way to much, and technically that is not what the Workflow was made for, but hey! You do you! Worst thing you can get is a bad output.
描述:
Contains both the Full Generation and the Load Image Workflow.
训练词语:
名称: imageRevampByModel_v10.zip
大小 (KB): 10
类型: Archive
Pickle 扫描结果: Success
Pickle 扫描信息: No Pickle imports
病毒扫描结果: Success