Still has some smaller problems. Will be fixed in future versions. Feedback right now is still appreciated
Extremely structured aswell as UX-friendly image generation, upscaling, (face) detailing and post-processing workflow.
Includes basic Image2Image functionality.
Compatible both with SDXL and Pony
Intro
Hi!
Since I have already been asked by multiple people, if I could share my workflow for basic generation and image upscaling, I decided to finally do so.
But I don't want to just release a workflow with all the things chucked in.
Most workflows from other people I saw are very chaotic or cluttered and (for most use-cases) overly complex. I wanted my workflow to include order and ease-of-use aswell as on the fly adjustments.
This is why I split the workflows pipeline into 14 separate sections. Every section is labeled with its task and tries to be as comprehensible as possible. In addition, I added 4 extra sections to control everything about the pipeline. That way you don't have to search for the specific place to enable or disable elements of the pipeline and can stay in just the area for control. For adjustment of specific nodes, manual adjustments are still required though.
Yes, I use a lot of custom nodes, so be prepared to install a lot of them when using this workflow. I like custom nodes, so I use them. They help me to be as concise as possible.
Installation
Prerequisites
-
Install ComfyUI or a different UI, which supports ComfyUI as backend
-
at least 8GB VRAM is recommended (The workflow was created and tested on 12GB VRAM)
-
Install ComfyUI Manager (makes the installation a lot easier)
Installation (kept very brief)
-
Download the workflow
-
Drag and drop the workflow file into ComfyUI
-
See all the missing nodes popup
-
Open ComfyUI Manager
-
Press Install Missing Custom Nodes
If you do not have ComfyUI Manager installed, you will have to search for every custom node and install them manually. (Will be very tedious) -
Download needed models
-
Any SDXL or Pony model of your choice
Personal recommendation: Pony Realism v2.1 -
Any SDXL VAE of your choice
Personal recommendation: SharpSpectrumVAEXL -
Any Upscale Model of your choice
Personal recommendation: 4xNMKD Siax 200k -
Any ControlNet Tile
Personal recommendation: TTPLanet SDXL Controlnet v2.0 Realistic rank256 -
Any BBOX Detector of your choice
Personal recommendation: yolo v8m face -
Any SAM model of your choice
Personal recommendation: Segment Anything vit b 01ec64 -
Any LUT of your choice
Personal recommendation: Film_0987 -
Optional: Any Positive/Negative Embeddings of your choice
-
Navigating the workflow
This workflow has been created for the use of SDXL/Pony models. It may work with different models, but will very likely need manual adjustments.
There are 10 prepared shortcuts, so you can navigate every important area just by pressing your keyboard buttons 1,2,3,4,5,6,7,8,9,0.
1 - Loader
2 - Prompt
3 - Sampler Settings
4 - Quality Tools & Saving
5 - Generator Image (1. Sampler)
6 - Upscaler Image (2. Sampler)
7 - Detailer Image (3. Sampler)
8 - Final Image (Post-Processed)
9 - Save Image
0 - Information
Examples and comparisons
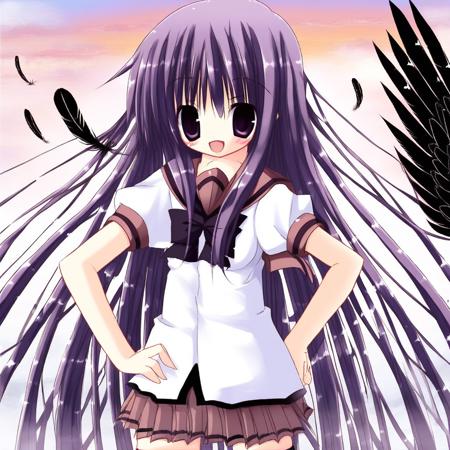
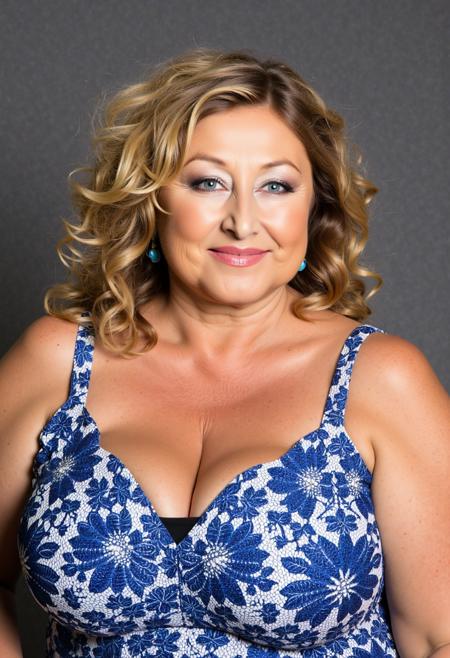
By the way: Faithful means with ControlNet Tile enabled, Creative means with ControlNet Tile disabled
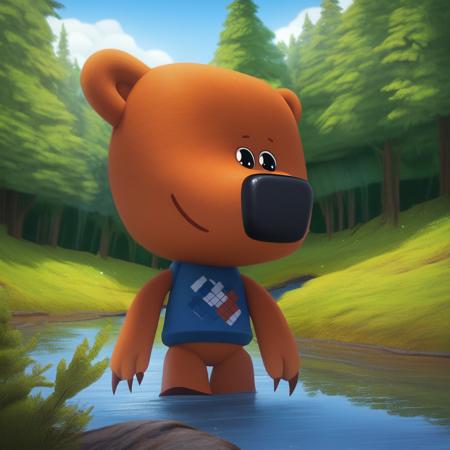
Example 1 (Pony Realism v2.1)
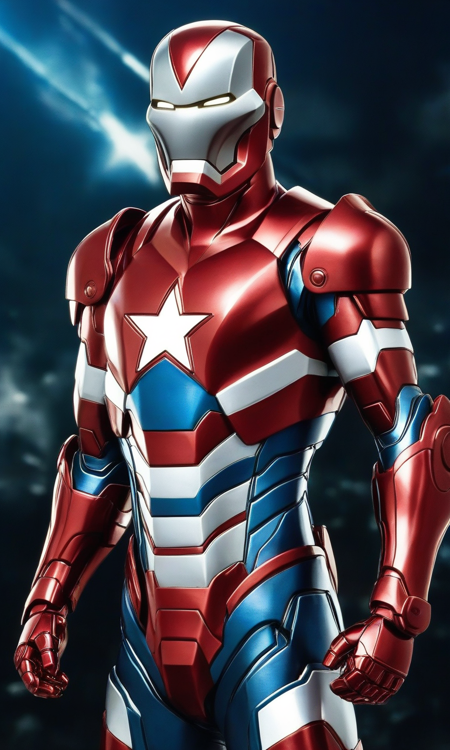
 Example 2 (Pony Realism v2.1)
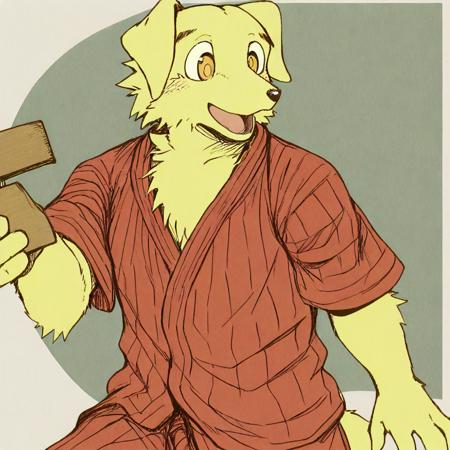
 Example 3 (Pony Realism v2.1)
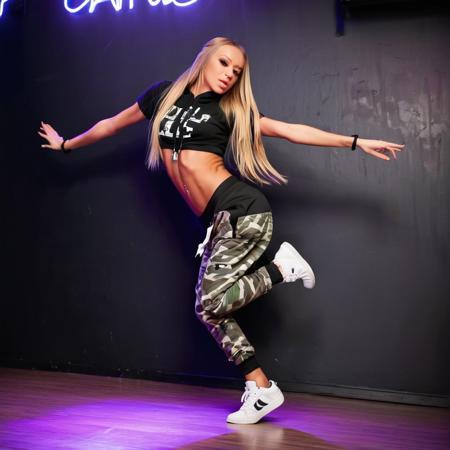
 Example 4 (AutismMixXL DPO)
 Example 5 (AutismMixXL DPO)

My personal settings
Sampler: DPM++ SDE
Scheduler: GITS
VAE: SharpSpectrumVAEXL
Positive Perturbation: Disabled
Negative Perturbation: Disabled
Positive Embeddings: Disabled
Negative Embeddings: Enabled
Generator:
-
Steps: 10
-
CFG: 4
-
Denoise: 1
-
Image Width: 1024
-
Image Height: 1024
Upscaler:
-
Steps: 10
-
CFG: 2
-
Denoise: 0.6
-
Image Upscale Factor: 2
Upscale Model: 4xNMKD Siax 200k
Tile ControlNet: Disabled
ControlNet Model: TTPLanetSDXL ControlNet v2.0 rank256
Detailer: Disabled
-
Steps: 5
-
CFG: 2
-
Denoise: 0.4
Quality Tools:
-
FreeU v2: Enabled
-
Perturbed Attention Guidance: Enabled
-
Self-Attention Guidance: Enabled
-
Dynamic Tresholding: Enabled
-
Automatic CFG: Enabled
-
U-Net Temperature: Disabled
-
HiDiffusion: Disabled
-
Tiled Diffusion: Enabled
-
Low VRAM for Tiled Diffusion: Disabled
Post-Processing:
-
Artificial Upscale: Enabled
-
Levels Adjustment: Enabled
-
Color Correct: Enabled
-
Adaptive Sharpening: Enabled
-
Color Modification: Enabled
-
Vignette: Enabled
-
Film Grain: Enabled
-
HDR: Enabled
-
LUT: Enabled (Film_0987)
Known problems (fixed in next version)
-
Resize image2image option does not use the value given, but the width/height of the set generator image size
-
When the Upscaler is disabled, Artificial Upscale only works if the Image Upscale Factor is set to 1
-
ConditioningPerturbation nodes are not automatically installed by ComfyUI Manager. If you want to manually install them: https://github.com/thderoo/ComfyUI-_topfun_s_nodes
Will be removed in the next version to make the installation easier
Version History
Version 1.0
-
Released workflow
描述:
Released workflow
训练词语:
名称: goatedBasicImage_10.zip
大小 (KB): 39
类型: Archive
Pickle 扫描结果: Success
Pickle 扫描信息: No Pickle imports
病毒扫描结果: Success