Turn your ComfyUI PNG images into JPG images with generation data and resource list that CivitAI understands.
Public Repository: https://gitlab.com/lanterieur/comfyui-png-to-civitai-jpg
Change Log:
v1.0.1: Fixed the issue with the prefix "ASCII" on the positive prompt.

ComfyUI PNG to CivitAI JPG
This CLI tool helps converting ComfyUI generated PNG images into JPG images embedding some generation data compatible with CivitAI. Developped and tested on Windows only.
Requirements
-
Nodejs 16. Will not work with Nodejs 18+ syntax.
https://nodejs.org/en/download -
ImageMagick
https://imagemagick.org/script/download.php#windows -
Exiftool
https://exiftool.org/ -
hashes.txt* in your models/checkpoints directory
-
hashes.txt* in your models/loras directory
-
hashes.txt* in your models/embeddings directory
*See the last section.
Use
-
Place the contents of this repository in your ComfyUI image output directory.
-
Open
prepare_for_civitai.jsin a text editor and change the paths to the checkpoints, LoRAs and embedding folders. -
In CMD (or git bash)
node prepare_for_civitai.js -
The CLI UI appears.
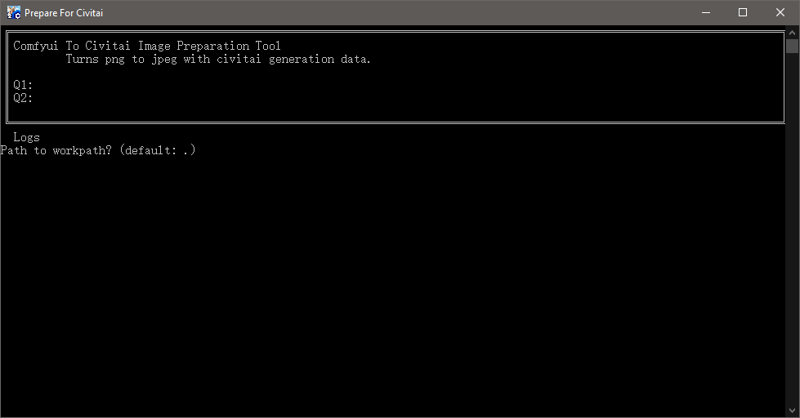
-
Question 1: Path to the folder to process. Relative to the file. Enter to validate.
-
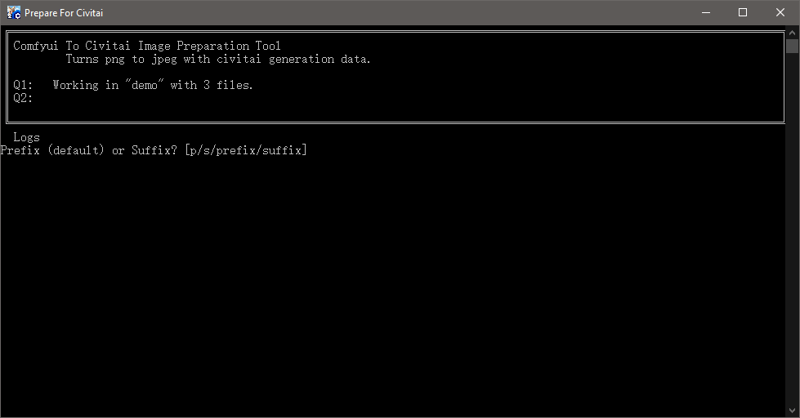
Question 2: Prefix or Suffix method. Default is Prefix. The JPG files will be created with either a
civitai_prefix or a_civitaisuffix. Enter to validate.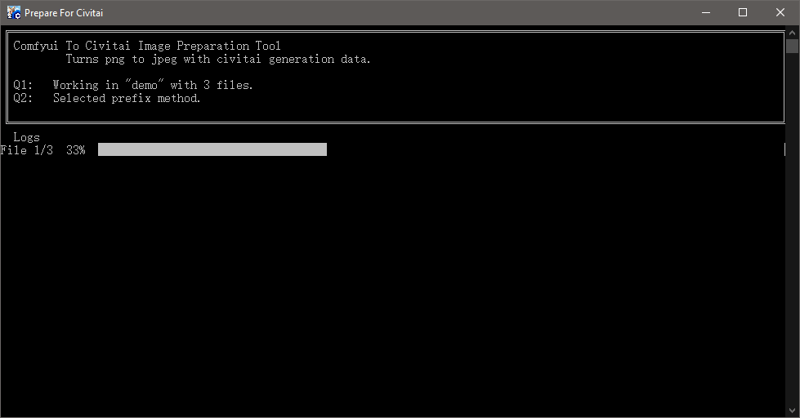
-
The tool will make a new jpeg file for every PNG file in the folder. It will not check for previously processed files.
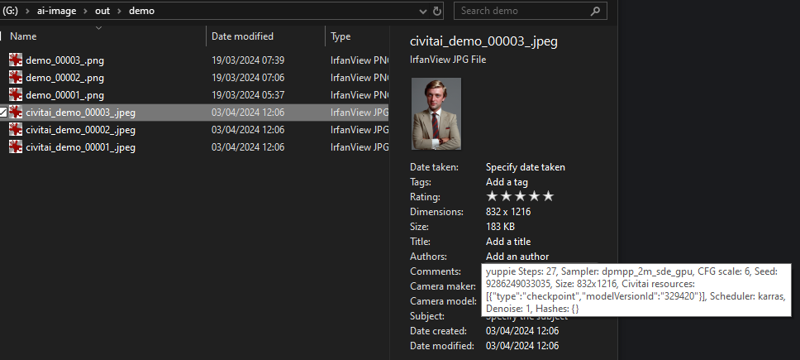
Example:
Note: These test images have empty negative prompts.
 Create an image post, upload one of these images.
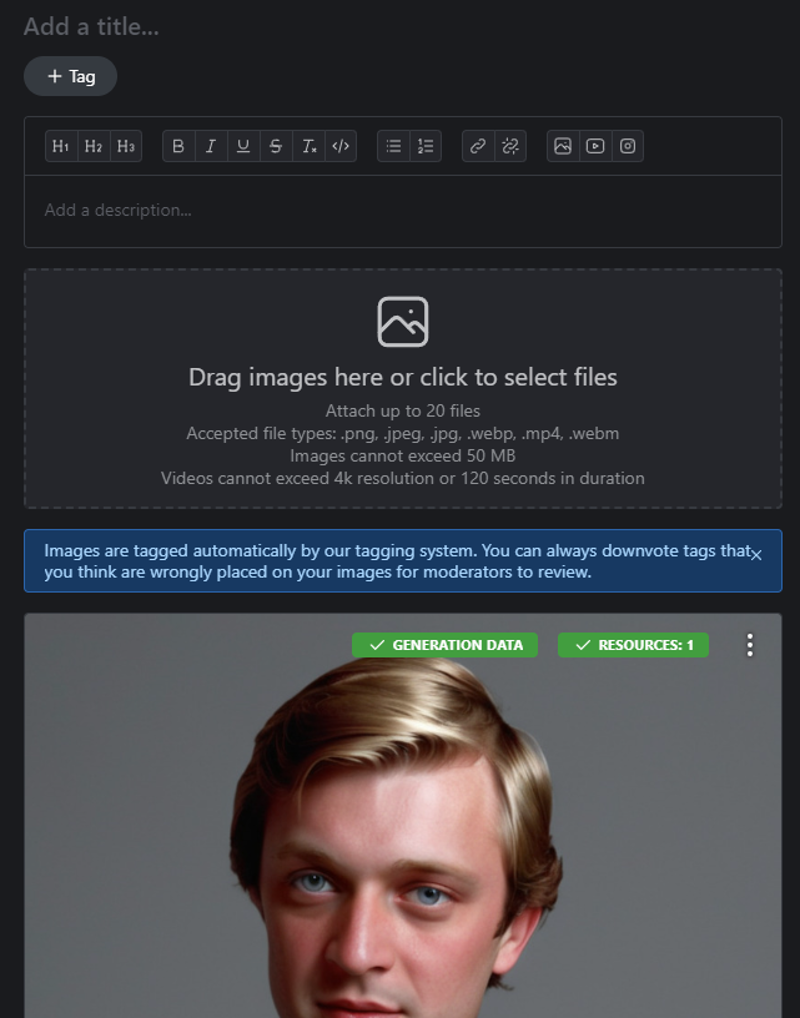 Click on the "GENERATION DATA" tag to open the "Image Details" panel.
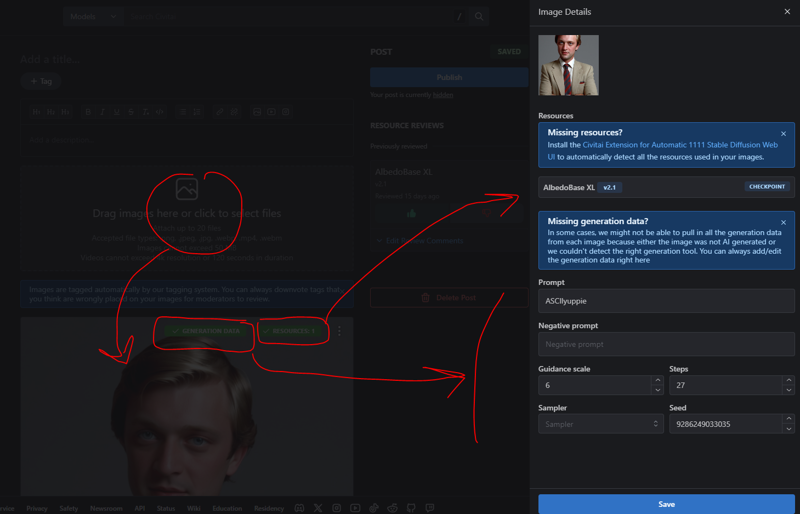 Note: the "ASCII" string before the positive prompt is a known issue. See section below.
Optional Launcher
You may edit the launch_prepare_for_civitai.bat file to set the path to the directory you use. You may then double click the .bat file to start the tool.
You may prefer using a shortcut with the logo icon. You may create a Windows Shortcut to the .bat file. Set the logo.ico as icon for the Shortcut.
Known Issues & Limitations
-
Will not provide accurate generation data for complex workflows.
-
Will not aggregate information from multiple samplers, seeds, latents and checkpoints.
-
Will not take upscalers into account for width and height.
-
In most cases, it will take the value of the first occurrence of a key/node in the workflow JSON.
-
It will take the contents of the first two text clip nodes and assume the first to be positive and second to be negative. It will not look for alternative prompt inputs.
-
Strips the workflow (as designed).
-
Fixed
The encoding name string "ASCII" appears before the comment and is prepended to the positive prompt in CivitAI.
hashes.txt files
To use this exact script, you will need three text files:
-
models/checkpoints/hashes.txt
-
models/embeddings/hashes.txt
-
models/loras/hashes.txt
These files act as plaintext databases for CivitAI autov2 hashes and modelversionid values, which are used to identify resources. I tell you how to format these files and how to get those values in the next sections:
why text files
I want to work offline, so I will not fetch the values from the CivitAI website or API.
I could have saved those hashes and ids in many other ways, some easier to handle in the script. I like dedicated files because I can add the values immediately after starting the download of the file.
Another option that may simplify the script a lot, if you plan to edit my script, is to store those values in the file name of resources. I'm not willing to have to wait for a model to finish downloading before renaming it, or, to collect the values in a text file to create the file name before saving.
If you go with the filename route, you will only need to parse your resource name instead of having to open the file text and parse for the model name.
how to get the hashes/ids?
Values are provided on CivitAI.com. Browse to a model page. Example: "https://civitai.com/models/133005"
-
AutoV2
-
Inside the "Details" table, line called "Hash", should display "AUTOV2" and the hash.
-
If you see another hash type like "SHA256", click the arrow button on the right to cycle through hashes.
-
-
modelVersionId (EDITED)
-
EDIT: NEW METHOD
-
Inside the "Details" table, line called "Air", should display a pattern like "civitai: NUMBER @ NUMBER". Example: "civitai:133005@357609"
-
The second number after the @ sign is the modelVersionID.
-
-
OLD METHOD
-
This value is not exposed.
-
On a computer, hover your mouse cursor on the download button.
-
Chrome will show the link on the bottom left corner of the window. In this example: "https://civitai.com/api/download/models/357609".
-
Alternatively, if the model has versions, displayed as buttons between the Model Name and the Details table, click on another version, then click back to the version you want, the link shown in the URL bar will now expose the modelversionid: "https://civitai.com/models/133005?modelVersionId=357609"
-
-
models/checkpoints/hashes.txt
Line Format: model_file_name_without_extension:civitai_autov2_hash:modelVersionId
Example
If your models/checkpoints directory contains two files:
-
dreamshaper_8LCM.safetensors
-
shataXLLCM_001.safetensors
Then your file will look like this:
1.5

dreamshaper_8LCM:A4F3E1526C:252914

SDXL

shataXLLCM_001:F10DF5008C:249273
models/embeddings/hashes.txt
Line Format: embedding file name without extension:civitai_autov2_hash
-
hashes.txt in your models/embeddings directory
Example
## SD1.5

# - fast negative

fastenegativev2:A7465E7CC2
models/loras/hashes.txt
Line Format: lora file name without extension:civitai_autov2_hash
-
hashes.txt in your models/loras directory
Example
1.5

SDXL

add-detail-xl:0D9BD1B873
描述:
训练词语:
名称: comfyuiPNGToCivitai_v100.zip
大小 (KB): 127
类型: Archive
Pickle 扫描结果: Success
Pickle 扫描信息: No Pickle imports
病毒扫描结果: Success